Showing posts with label candy. Show all posts

Tuesday, May 17, 2011

May 16: Flower Lollipops


All done making the flower!

Working so carefully!

The original instructions for the flower lollipops are HERE at busybeekidscrafts.com.  I thought this was such a cool idea!  It didn't turn out quite as I had expected, but the boys LOVED them!  One thing I never really thought about before making these was that each lollipop takes seven Life Savers to complete...which means your child will be eating seven pieces of candy if he eats the whole lollipop in one sitting! 

I purchased three rolls of hard Life Savers candy and we were able to create 5 lollipops using that candy.  If you don't have three rolls to work with you probably won't have all the same color petals on each flower, but that could be cute, too. 


All ready for the oven!
 Cousin Isaac was over for the afternoon so he made the red lollipop, Ty made the orange lollipop and I made the purple on as an example. 


Melted sweetness!

Line a cookie sheet pan with TIN FOIL (if you notice in the picture I used waxed paper since I was out of tin foil...not a good idea.  The waxed paper stuck to the lollipops!).  Preheat the oven to 250 degrees.  Place the Popsicle stick on the pan and then place the "center" of the flower at the top of the Popsicle stick.  Place another candy, also on the stick, underneath that.  Encircle the "center with the other candies, making sure they all touch each other so they'll melt properly.  Place in the oven for 11-13 minutes or until candy is melted.  Let cool and peel off.  Enjoy!


"It's so tasty!"

"Mmmmmmm!"

Monday, March 28, 2011

March 28: Chocolate Peanut Butter Easter Eggs

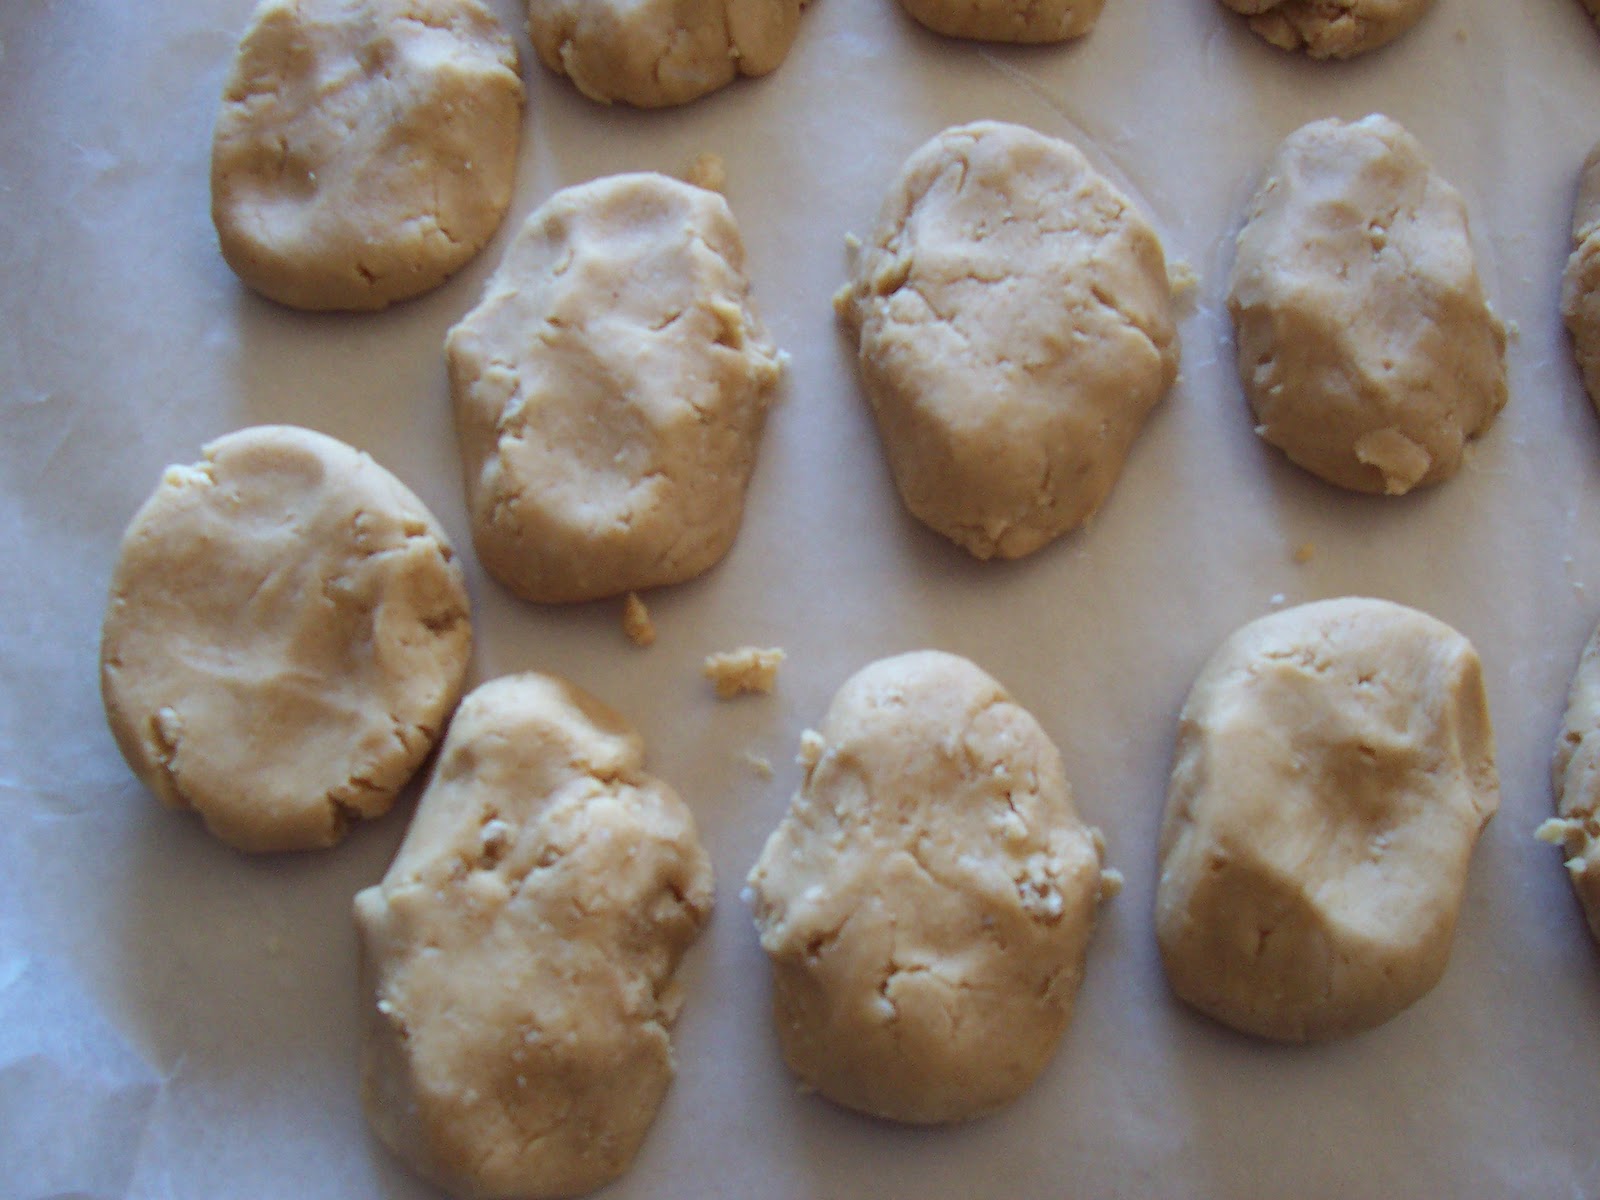
Talk about yummy!  Tysen enjoyed these from his first taste:  licking the spoons, the beaters, and just eating the dough out of the bowl!  All the other taste-testers raved about these treats as well, and I will certainly be making these again!  These Chocolate Peanut Butter Easter Eggs are the perfect treat involving two favorites:  chocolate and peanut butter!  They certainly don't need to be restricted to Easter season (yes, I realize it's a few weeks before Easter yet, but the kids are already excited about it!).  Hope you get a chance to sample one of these!  (Note:  the recipe states it makes 12 eggs...we made 25!)

Kittencal's Chocolate Peanut Butter Easter Eggs (Kittencal is one of my favorite chefs on food.com)
1 - 16oz. package confectioners sugar
1 cup peanut butter
4 1/2 Tbs. salted butter -- softened (if using unsalted butter add a pinch of salt)
1 Tbs. milk (may need more)
1 tsp. vanilla
1/3 cup crispy rice cereal (like Rice-Krispies, slightly crushed) *optional*

Glaze:
10 - 1oz. semi-sweet chocolate baking squares (could use milk chocolate) *I just used 10 oz. chocolate chips
1 Tbs. shortening

  • In a mixing bowl, beat the sugar with peanut butter, butter, milk, and vanilla until smooth and well-combined (may need to add more milk to if the mixture if dry).
  • Mix in the cereal at this point, if using.
  • Shape into desired size egg-shaped balls.
  • Freeze for 1 to 1 & 1/2 hours.
  • Chop chocolate into smaller pieces and use a microwave-safe bowl to melt chocolate with the shortening.  Microwave until melted stirring occasionally.
  • Dip each egg into chocolate allowing the excess to drip off.
  • Place on waxed paper.
  • Decorate with sprinkles, etc. if you'd like.
  • Refridgerate until cool.


Wednesday, March 23, 2011

March 21: Froot Loop Candy

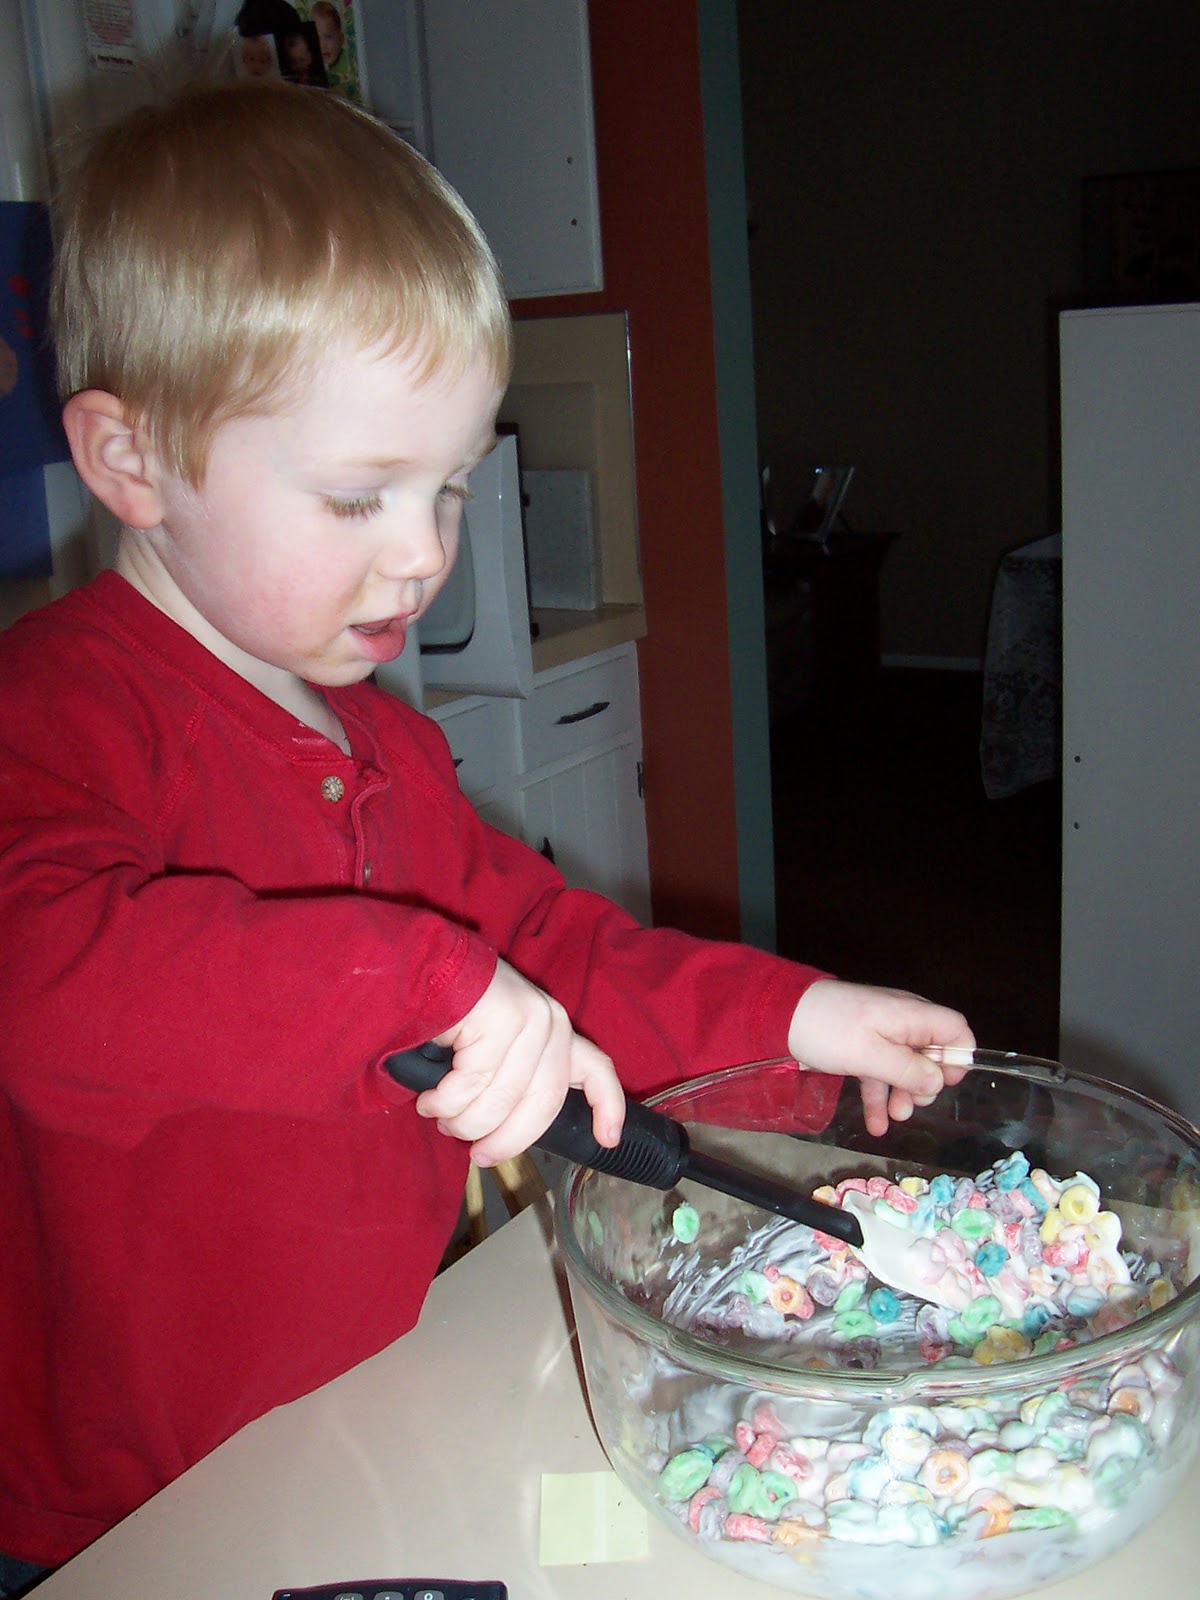
I had planned on making something else today, but didn't realize we were missing some of the ingredients (oops!) so I rushed to find a plan B, and viola!  Froot Loop Candy!  I found the recipe on food.com (one of my favorite recipe sites).  Simplicity is always a plus when it comes to kids in the kitchen, and Froot Loops are a real treat in this house!  We actually had Froot Loops as well as some left over white chocolate bark from Christmas so this became plan B. 

If you'd like to make your own Froot Loop Candy (like I know you do!) here's how!

Froot Loop Candy
8 oz. white chocolate bark
3 1/2 cups Froot Loops cereal


Melt the bark in the microwave for 1 minute.  Stir thoroughly.  Continue to melt it in 20 second intervals, stirring in between, until melted smooth.  Pour cereal one cup at a time into the melted bark, stirring after each cup is added.  After all the cereal has been added and mixed completely, spoon mixture onto waxed paper in small clusters.  Allow them to cool completely.  Store in an airtight container.

Tuesday, February 8, 2011

February 2: Games and Gummi Candy

Today is a snow day over here so both Seth and Koen are home from school!  As the snow and wind swirl outside, the boys and Seth played tag, duck-duck-goose, and some racing PlayStation games.  The boys love their time with their Daddy and their Daddy loves spending time with his boys! 

Koen spotted the candy molds last night and asked to make more gummi candy...a perfect snow-day activity.  We first made this recipe last June and ended up with more than enough grape gummi candies (see post from June 29).  Today, I decided to make a half-recipe using the lemon jello we had in the house.  I didn't get a chance to link to grkids.com where I first saw it (now I can't find it there) or post the recipe last time so I'll include that with this entry.

Gummi Candy
Ingredients:
6 pouches of Knox gelatin
2 boxes (same flavor) of 3 oz. Jello (not sugar free!) 
2/3 cup PLUS half of a 1/3 cup of water

Equipment:
A medium Pyrex measuring cup...ideally with a pour spout  -- be sure it's glass!
A pot large enough to fit the Pyrex cup
Candy Molds (We got our set at Michaels)

Measure the water and pour it into the Pyrex cup.

Stir, stir, stir!


SLOWLY add all the Knox and Jello stirring the mixture thoroughly.  Cover the Pyrex cup and let it set for 10 minutes.  While you're waiting, put some water in the pot and start heating it.  It should be almost boiling when the 10 minutes is up.  Your mixture should look a little gritty.

Carefully place the Pyrex cup into the pot of boiling water.  Stir frequently.  You want to MELT the mixture, NOT boil it!  Constant stirring will help keep it from boiling.   


When the melting is done, it will be totally liquid...thinner than the original mixture, but not watery.  You may get a little foam on the top and that's OK. 

Are they ready to eat yet?
When you're finished melting the mixture, have your molds laid out on the counter and pour the mixture in.  No need to grease the molds, the candy comes out easily.  This is when the Pyrex pouring spout really comes in handy!  Be sure you have a number of molds ready as this mixture makes A TON of candy!!!  (That's why we made a half batch this time.)


Place the filled trays in the refrigerator for about 10 minutes to help the candy set (we needed to do this in the summer, not in the winter with a cooler temp in the house).  Pull the candy out of the trays and enjoy!  Store in an air tight container in the fridge. 

Monday, July 5, 2010

June 29: Gummy Candy

So this wasn't technically baking, but we were in the kitchen, and I thought the kids would enjoy it since they love fruit snacks!  This is a recipe for gummy candy that I got off the "Sandy's Spot" blog on www.grkids.com , but I couldn't find it back and I'm not currently at home so I'll have to post it later.  
Koen and Tysen took turns stirring the gelatin but kept asking if they could lick the spoons.  We stirred it up, played while it sat for 10 minutes, heated it, and then poured it into the candy molds.  This recipe made a lot of candy!!!  I chose grape jello since that's one of the kids's favorite flavors, but I personally would have preferred strawberry or raspberry.  The candy only needed to be in the fridge about 10 minutes before we could enjoy it.  Instant gratification is always good. :)  You can see a few of the shapes in the picture below:  airplane, helicopter, banana, strawberry, pineapple, etc.  The bigger pieces are on top since that's what they want to eat first.  We also had more bite-size pieces in the shapes of hearts, flowers, numbers, etc.

The kids (and the neighbor girls) really like them.  Ty keeps licking the candy before he eats it...I guess it lasts longer that way and it's not messy since it doesn't melt at all. We'll keep this recipe to make again...someday.