Showing posts with label fall. Show all posts

Saturday, November 26, 2011

October 20: Sandpaper Leaves...or Not

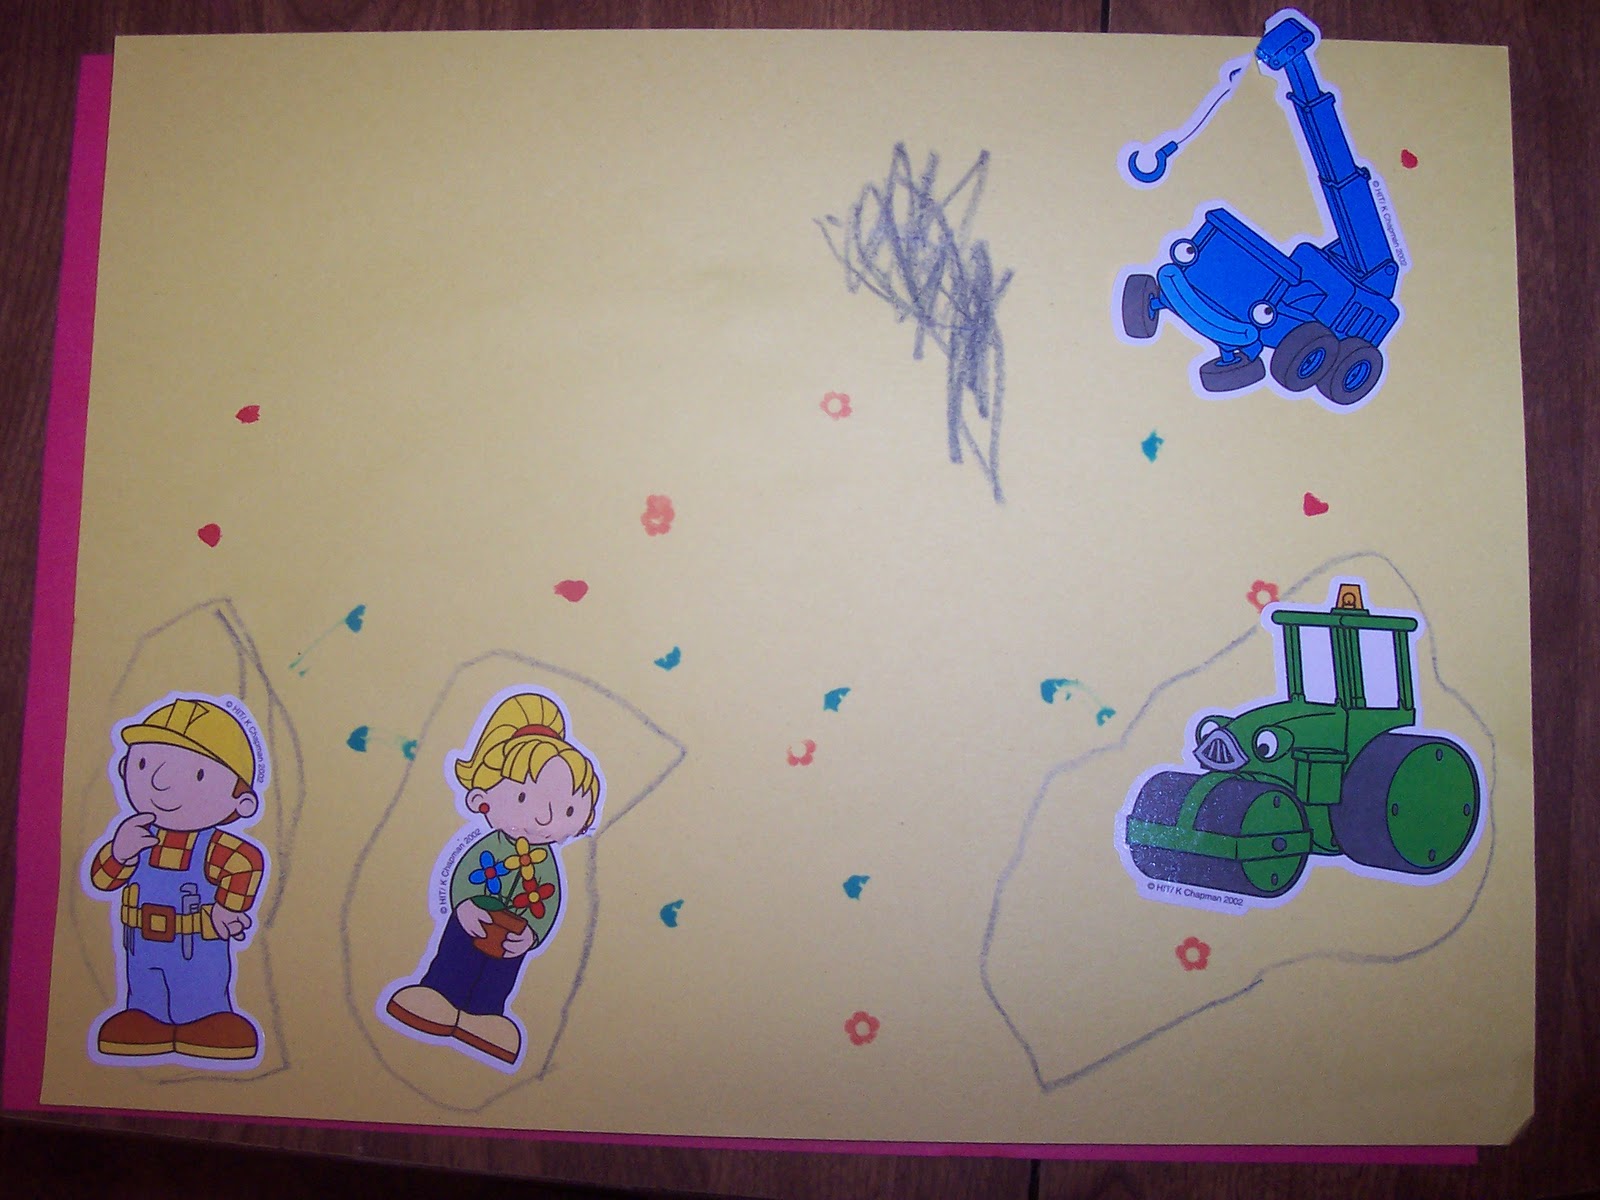
I thought these Sandpaper Leaves were a perfect fall craft!  Ty did not agree so much.  He decided to do his own craft with markers, glue, and stickers and had a grand time completing it.  I know it's great to let kids explore and create using their own ideas, but I have to admit it's a little disappointing when he doesn't like the ideas I have.  So I made the sandpaper leaves and he made his own creation, and we enjoyed each other's company while working!


Brielle helped me select the colors for the leaves.

Sunday, October 23, 2011

September 29: Paper Strip Pumpkin

The fall season is here!  It's time to think leaves, apples, and pumpkins!  I saw this cute idea on allkidsnetwork.com.  To duplicate this craft, you'll need an empty toilet paper roll, orange and green construction paper, glue, tape, and a scissors. 

First, cut the toilet paper roll to half its height.  Cut a strip or orange paper and glue it around the tube.  Then cut 8 orange strips about 1 inch wide.  I was so proud of Ty;  he cut all the strips himself!  He's been resisting using a scissors and I haven't pushed him, but he did a fantastic job cutting these strips while I held the paper for him.  We're making progress! :) 

Tape one side of one strip inside the toilet paper tube at the 12 o'clock position, repeating at the 3, 6, and 9 positions.  Tape the next four strips inside the tube inbetween these first four.  Now tape the ends on the inside of the toilet paper tube on the other end.  Once all the strips are taped in place, cut a leaf out of the construction paper and tape it in the middle of the tube.  (I'm sure the website explains this whole process  much more clearly!) :) 

When the pumpkin was complete, Ty decided he wasn't quite finished with project time yet.  He pulled out the bag of puff balls and created his colorful lamb (below).  He was so careful in placing each puff ball and so proud of his finished project!

Monday, November 1, 2010

October 1: Fall Place Mat

The boys started collecting leaves every time we went outside, so I figured it was time to make an autumn placemat.  One idea I'd read online used clear contact paper to make the placemat, but I didn't have any of that at home, and I remembered making mats with waxed paper, so that's what we went with. 

Tysen carefully placed each chosen leaf on the waxed paper which I had laid on top of a towel (thinking ahead for using an iron!)  Prior to inviting Ty to make his new mat, I shaved some broken crayons so he could add some extra color to his mat.  He had fun spreading the crayon shavings around, although he wanted to cover the leaves with the shavings rather than put the color in the "blank" spaces.  Once he was finished designing his new mat, I placed the second piece of waxed paper over top, covered it with a towel and began ironing. 
Now, one thing that never even crossed my mind was that my towels were textured.  Using textured towels to help protect the waxed paper ended up texturing the waxed paper, so we ended up with a textured placemat.  A mistake that turned out to be kind of a cool feature! The crayon shavings didn't melt and spread as well because of the texture keeping it more in place, but it still turned out nicely.  Ty was happy with it!  We trimmed the edges to make it look nice and that was that. 


Ta-da!